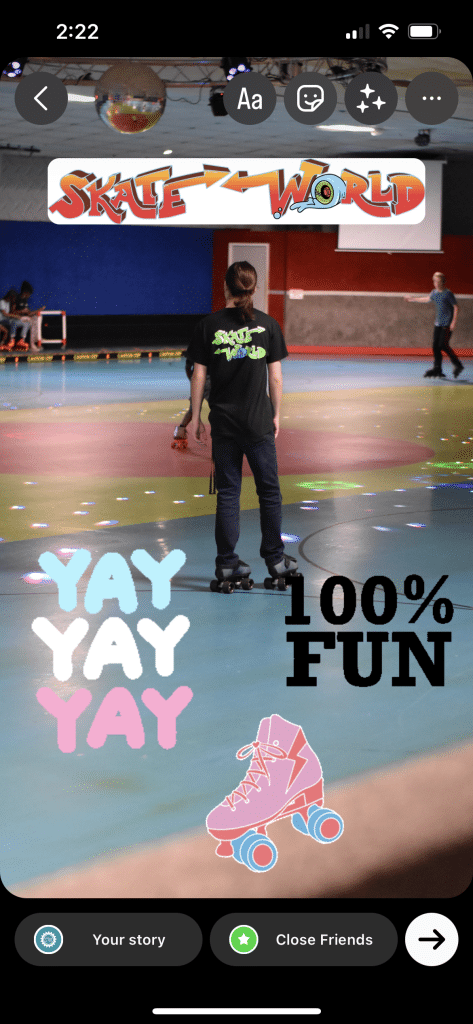
Instagram has introduced a number of new features in recent years designed to increase user engagement and help out small businesses like yours! One of these new features is the ability to add custom “stickers” to Instagram story posts. These stickers can be two or three-dimensional, static or animated, and are a great way to encourage customers to take a longer look at your stories! A custom Instagram sticker allows users to add a bit of flair to their post and can increase brand awareness among their followers that may not be familiar with your brand.
If this sounds like a good fit for your business but you’re not sure where to start, follow this quick and easy guide and you’ll be posting like a pro in no time! The easiest way to create one of these graphics is to use a tool like Canva, so these instructions will use that platform.
Step 1: Design
As with all digital graphics, step one is design. Instagram stickers are essentially resizable graphics with transparent backgrounds meant to be used as an overlay for posts on a user’s Instagram story. To begin, create a new document in Canva and decide which colors you would like to use for your sticker. Next, search Canva’s library of elements to decide how you will relate the sticker to your business. For example, a sporting goods store might search the elements library for terms like “baseball, football, basketball” to find premade graphics that could work well together as a sticker. Once you have your elements selected, choose a background that ties them together, arrange them, then you’re ready to save the document!
Step 2: Exporting
Once your graphic has been created, it’s time to save it! The most important part of this step is making sure you save the graphic as a .png file with a transparent background (Only available with Canva Pro), options Canva will present to you when you click the download button. If you don’t have Canva Pro, download the image as a .png with a white background then remove it with a website like remove.bg. This will ensure that nothing besides the graphic is present when you upload the file and that the design will look clean and be easy to read no matter where it is placed in a photo.
Not transparent
Step 3: Uploading to Instagram
Now that your graphic is ready for the spotlight, it’s time to get it uploaded to Instagram! To do this, you must first send the image to the device that has the Instagram app installed. Once the image is on your device, go to your camera roll and copy the image. From there, open the Instagram app and tap your profile photo to start a new story. Tap the type tool on the left hand side of the screen, act as if you are about to type, then press next without typing anything. On this new screen, tap the text tool button at the top of the screen, then long press the screen to paste your sticker!
Step 4: Get Creative!
This method will work with any image in the .png format, so start designing! Logos, special event reminders, employee faces, even custom text saved as a .png can all work as Instagram story stickers, and they help your stories stand out.
Bonus Tip:
Upload your design to giphy.com to make it searchable for your customers and followers! Instagram has Giphy integrated into their platform, so any gif on giphy can be used on Instagram.


